Outline
- Introduction
- H1: What Makes a Good Fake ID Photo?
- Importance of a Good Fake ID Photo
- Understanding the Basics
- H2: What is a Fake ID?
- H3: Legal Implications of Using a Fake ID
- H3: The Role of the Photo in a Fake ID
- Prepping for the Photo
- H2: Choosing the Right Background
- H3: The Importance of a Neutral Background
- H3: Lighting Tips for a Professional Look
- Getting the Right Appearance
- H2: Dressing for the Part
- H3: Clothing Do’s and Don’ts
- H3: Hairstyle Considerations
- Perfecting the Facial Expression
- H2: Achieving a Natural Look
- H3: Smile or No Smile?
- H3: Maintaining a Neutral Expression
- Positioning and Framing
- H2: Framing the Shot
- H3: Correct Head Position
- H3: Adjusting Your Body Posture
- Technical Aspects
- H2: Camera Settings for a Clear Photo
- H3: Choosing the Right Resolution
- H3: Importance of Focus and Sharpness
- Post-Photo Editing
- H2: Editing Your Photo
- H3: Basic Retouching Techniques
- H3: Avoiding Over-Editing
- Common Mistakes to Avoid
- H2: Mistakes People Often Make
- H3: Unnatural Expressions
- H3: Poor Lighting
Final Thoughts on Taking a Good Fake ID Photo
- H2: Putting It All Together
- H3: Importance of Attention to Detail
Conclusion
- H2: Recap of Key Points
- H2: Final Thoughts
FAQs
- H2: FAQs About Taking a Good Fake ID Photo
- What is the best background color for a fake ID photo?
- How can I make my fake ID photo look real?
- Should I smile in my fake ID photo?
- Can I use a selfie for a fake ID photo?
- What is the most common mistake people make when taking a fake ID photo?
How to Take a Good Fake ID Photo
What Makes a Good Fake ID Photo?
So, you’re looking to snap a stellar fake ID photo? Whether you’re crafting a novelty ID for a prank or just curious about how it’s done, nailing that photo is crucial. A good fake ID photo can make or break the whole thing, so it’s important to get it right from the start.
Understanding the Basics
What is a Fake ID?
Before we dive into the photo specifics, let’s get clear on what a fake ID actually is. A fake ID is an identification card that’s been altered or created from scratch to present false information. It’s often used to impersonate someone else or to claim an age or identity that isn’t yours. But remember, using a fake ID for illegal activities is against the law and can have serious consequences.
Legal Implications of Using a Fake ID
While we’re on the subject, it’s essential to highlight the legal implications. Getting caught with a fake ID can lead to hefty fines, criminal charges, and a permanent mark on your record. So, while we’re talking about how to take a good fake ID photo, keep in mind that this is intended for legal, safe uses—like theater props or gag gifts—rather than actual identity fraud.
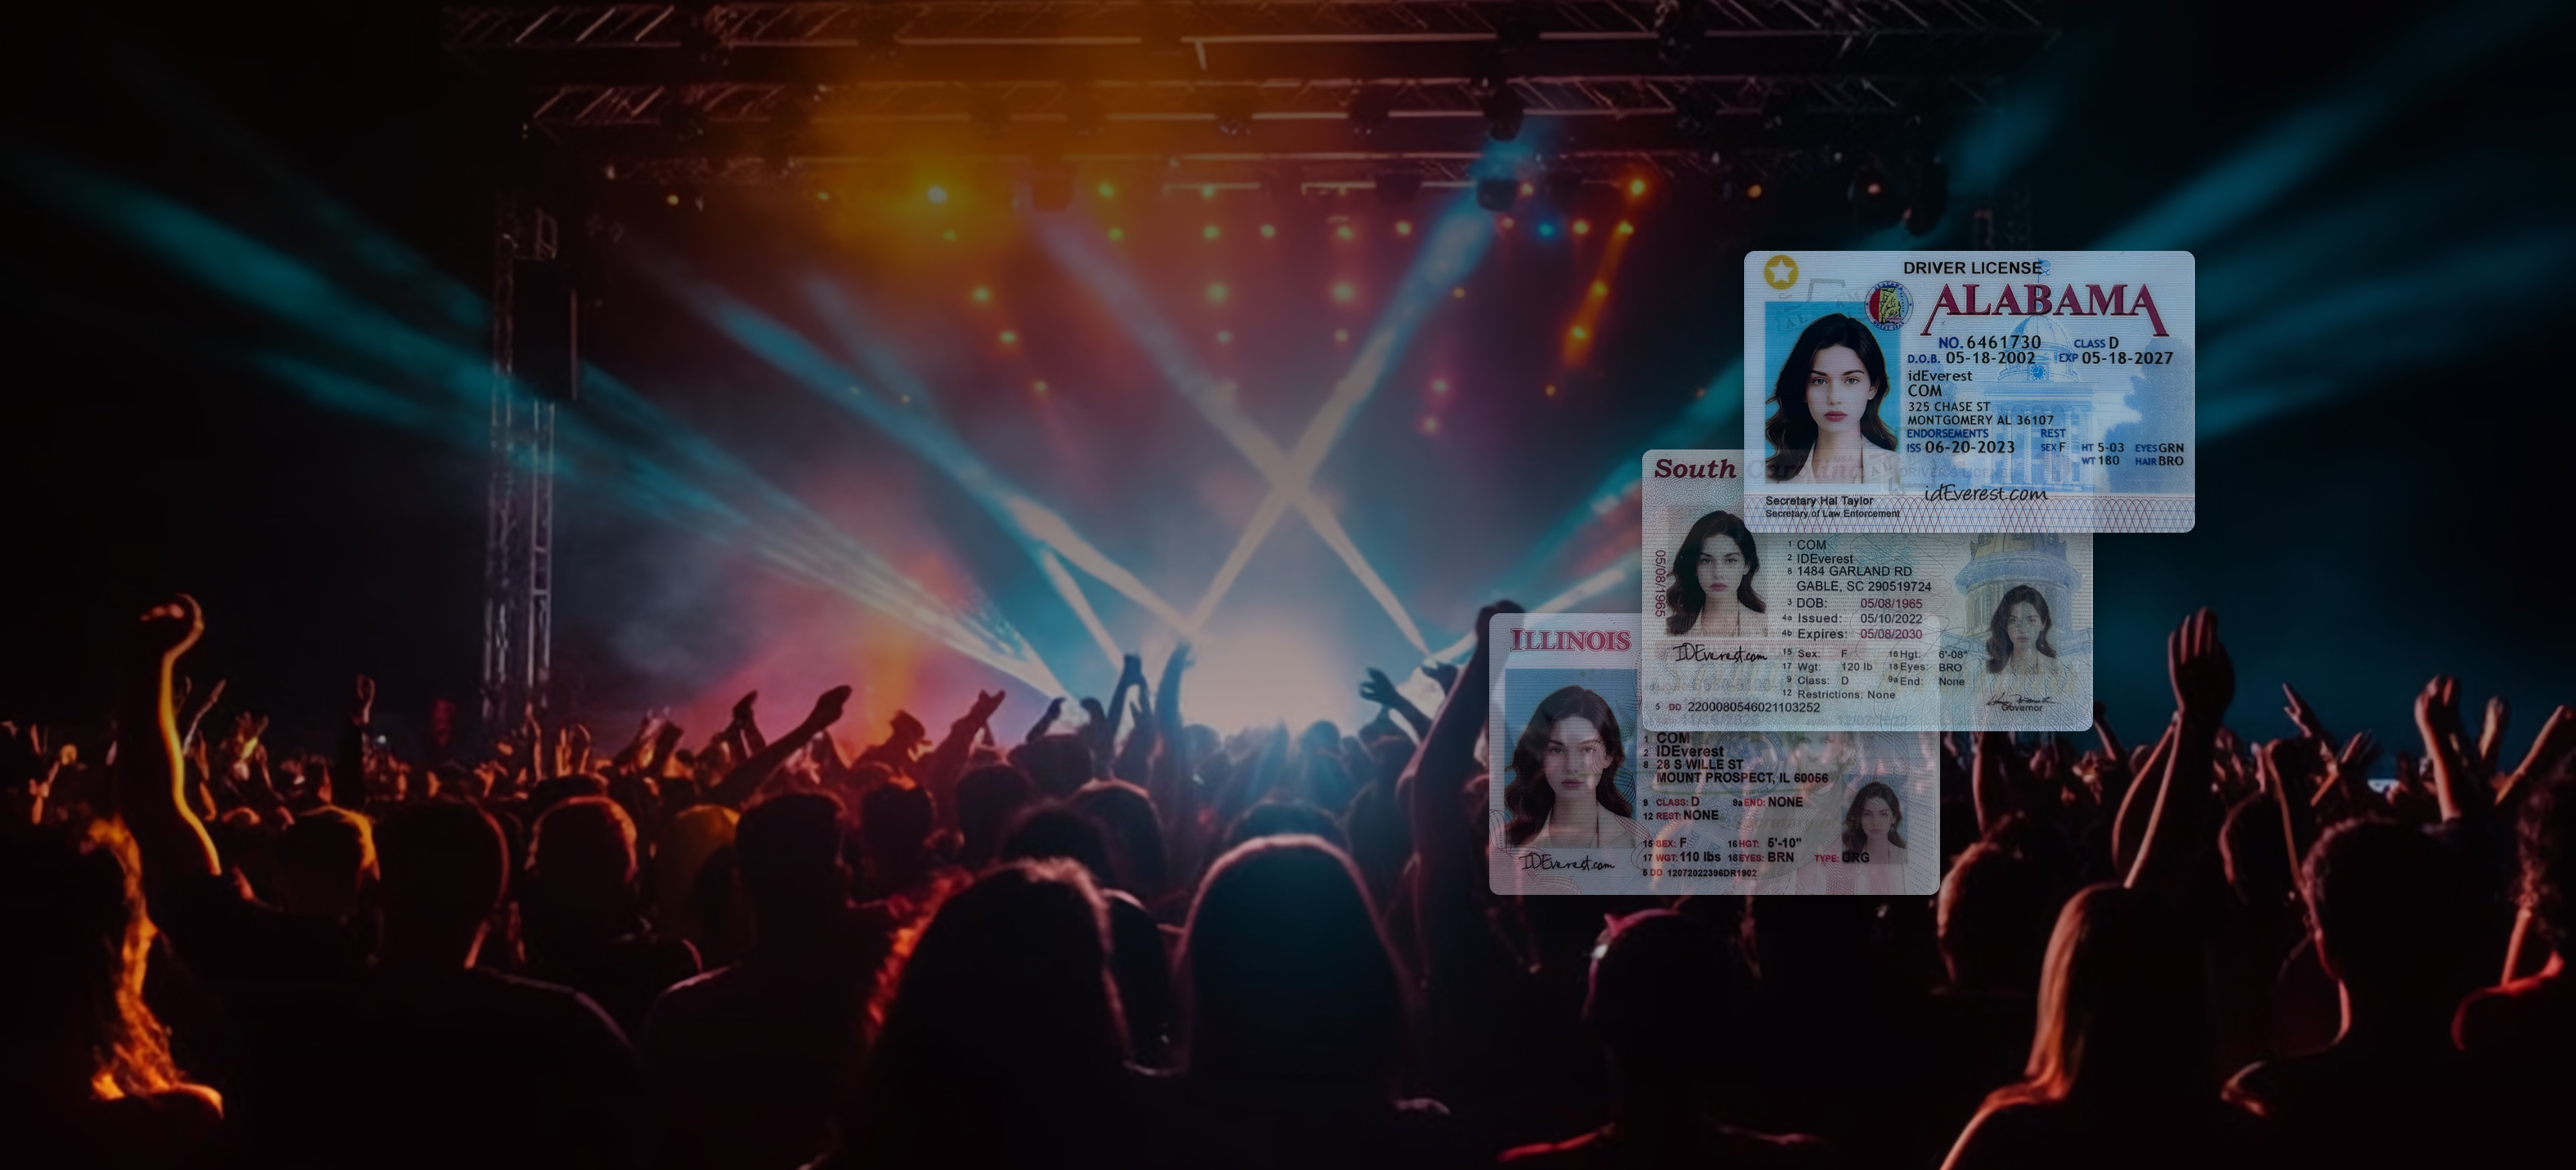
The Role of the Photo in a Fake ID
The photo is the heart of any ID, fake or real. It’s what makes the document seem authentic at a glance. A blurry, poorly lit, or unnatural-looking photo can be a dead giveaway that something’s off. That’s why it’s crucial to put some effort into getting your photo just right.
Prepping for the Photo
Choosing the Right Background
Your background sets the stage for the entire photo. It’s the canvas that holds everything together, so you want it to be as neutral as possible.
The Importance of a Neutral Background
A neutral background—think white, gray, or light blue—works best. These colors are often used in real ID photos, so they’ll help your fake ID look more legitimate. Plus, a neutral backdrop keeps the focus on your face, which is exactly what you want.
Lighting Tips for a Professional Look
Good lighting can make a huge difference. Aim for natural light if possible, but if that’s not an option, use soft, diffused lighting. Harsh shadows or overly bright lights can distort your features and make the photo look less professional. Remember, the goal is to mimic the clean, even lighting you’d see on a real ID.
Getting the Right Appearance
Dressing for the Part
What you wear in your ID photo matters more than you might think. Your outfit should be simple and understated—no loud patterns or bright colors that could draw attention away from your face.
Clothing Do’s and Don’ts
Stick to solid colors, preferably something that contrasts well with the background. Avoid hats, sunglasses, or anything else that obscures your face. The goal is to look like a typical, everyday version of yourself, not like you’re heading to a party.
Hairstyle Considerations
Your hairstyle should be neat and tidy. Keep it natural—no extreme styles that could raise eyebrows. If you normally wear your hair up, keep it up; if it’s usually down, leave it down. The key is to look like yourself, just a polished version.
Perfecting the Facial Expression
Achieving a Natural Look
Facial expression can be tricky. You want to strike a balance between looking too stiff and too casual.
Smile or No Smile?
This is a common question, and the answer depends on what you’re going for. A slight, closed-mouth smile can work, but be careful not to overdo it. Too much of a grin can make the photo look less serious. On the other hand, no smile at all might make you look too stern. A subtle, neutral expression often works best.
Maintaining a Neutral Expression
If in doubt, go for a neutral expression with a relaxed face. Think of how you look in your driver’s license photo—serious but approachable. That’s the vibe you want to capture.
Positioning and Framing
Framing the Shot
How you position yourself in the frame is crucial. You want to be centered with your face taking up most of the space.
Correct Head Position
Your head should be straight, not tilted. Keep your chin level and your shoulders relaxed. A head-on angle is best; anything else might look odd and could be a red flag.
Adjusting Your Body Posture
Sit or stand up straight, but don’t be rigid. A little bit of natural curve in your posture helps keep the photo from looking too forced. Remember, the focus should be on your face, so don’t worry too much about the rest of your body.
Technical Aspects
Camera Settings for a Clear Photo
Now, let’s talk tech. The camera you use and the settings you choose can make or break your photo.
Choosing the Right Resolution
High resolution is key for a clear, sharp photo. Most smartphones today have cameras that are more than capable of taking a good ID photo. Just make sure you’re using the highest resolution setting available.
Importance of Focus and Sharpness
Blurry photos are a big no-no. Make sure the camera is focused on your face before you take the shot. If you’re using a smartphone, tap on your face on the screen to lock the focus. The sharper the image, the more believable it’ll look.
Post-Photo Editing
Editing Your Photo
Editing can be a slippery slope. It’s easy to get carried away, but the goal is to enhance, not transform.
Basic Retouching Techniques
A little bit of retouching is fine—maybe smoothing out a few blemishes or adjusting the brightness. But steer clear of heavy filters or drastic changes. The photo should still look like you when you’re done.
Avoiding Over-Editing
Over-editing is one of the quickest ways to ruin a good photo. If it starts to look fake or too perfect, you’ve gone too far. Keep it subtle and realistic.
Common Mistakes to Avoid
Mistakes People Often Make
Even with the best intentions, it’s easy to slip up when taking a fake ID photo.
Unnatural Expressions
One of the most common mistakes is an unnatural expression. Avoid looking too serious or too happy—both can make the photo look staged.
Poor Lighting
Lighting issues are another frequent problem. Too much shadow or harsh light can make your photo look unprofessional. Always aim for even, soft lighting that flatters your features.
Final Thoughts on Taking a Good Fake ID Photo
Putting It All Together
Taking a good fake ID photo is all about attention to detail. From the background and lighting to your outfit and expression, every element plays a part in creating a convincing image.
Importance of Attention to Detail
Remember, the devil is in the details. A little bit of preparation goes a long way in making sure your fake ID photo looks as legitimate as possible. Take your time, follow these tips, and you’ll be well on your way to snapping a photo that could fool even the most scrutinizing eyes.
Conclusion
In conclusion, creating a convincing fake ID photo requires careful planning and execution. From choosing the right background to perfecting your facial expression, every detail matters. While the process might seem tedious, the end result—a professional-looking photo that passes the test—is worth the effort.
FAQs About Taking a Good Fake ID Photo
What is the best background color for a fake ID photo?
A neutral color like white, gray, or light blue works best as it mimics the backgrounds typically used in real ID photos.
How can I make my fake ID photo look real?
Focus on even lighting, a neutral background, and a natural expression. Avoid over-editing and ensure the photo is sharp and clear.
Should I smile in my fake ID photo?
A slight, closed-mouth smile can work, but a neutral expression is often the safest choice.
Can I use a selfie for a fake ID photo?
It’s better to have someone else take the photo to ensure proper framing and focus, but if you must take a selfie, use a tripod and timer for a steady shot.
What is the most common mistake people make when taking a fake ID photo?
The most common mistakes include poor lighting, unnatural expressions, and over-editing, all of which can make the photo look less authentic.
